Troubleshooting Low-Voltage Pathway Lights at Home
Path lights acting up or going dark? Learn when low-voltage landscape pathway lights are worth repairing and when a full replacement will save you money.
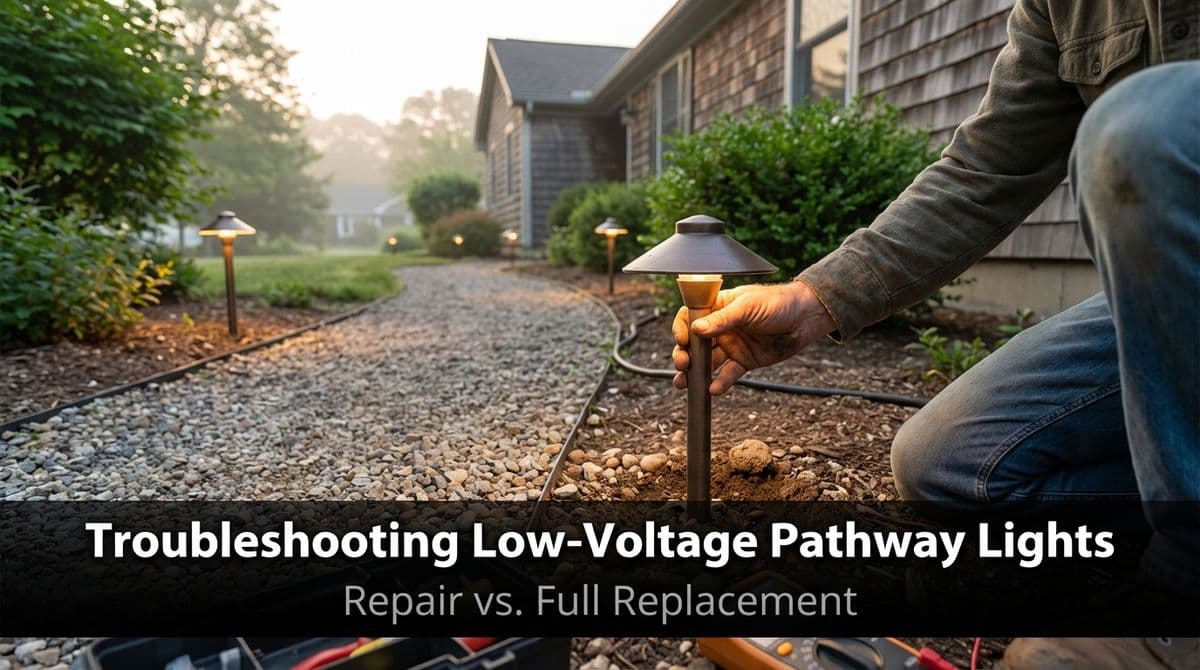
When Your Low-Voltage Path Lights Go Dark
We recently got a call from a homeowner — let’s call him Brian — who was frustrated with his landscape pathway lights. He had about a dozen low-voltage fixtures winding along his driveway, all wired back to a box in his pump house. Over time, almost all of them had gone out. One night they’d all come on, another night only one or two would flicker to life.
Brian’s big question was one we hear a lot: “Is it worth having you come diagnose and repair these, or should I just rip everything out and replace it?” If you’re staring at a dark pathway right now, you might be wondering the same thing.
How Low-Voltage Pathway Systems Are Typically Set Up
Most residential pathway lighting systems are 12-volt, low-voltage setups. That’s good news, because 12V systems are generally safer and more DIY-friendly than standard 120V house wiring.
Here’s the basic layout we usually see:
- A transformer (often in a garage, pump house, or on an exterior wall) that steps 120V down to 12V
- One or more runs of low-voltage cable buried a few inches underground
- Pathway fixtures tapped into that cable, often with clamp-style connectors
- Sockets inside each fixture that hold the bulbs or LEDs
In Brian’s case, all the fixtures were tied into a single run back to the pump house. When almost every light on a run is misbehaving, that tells us the problem is somewhere along the shared wiring or connections, not just one bulb.
The Most Common Failure Points We See
We told Brian the same thing we tell all our customers: low-voltage path lights are beautiful when they’re working, but they can be a maintenance headache as they age. Here are the usual suspects:
- Rotted or corroded sockets — Moisture gets into the fixture, metal contacts corrode, and bulbs stop making good contact. Sometimes the tiny screws holding the socket in place snap off when we try to remove them.
- Brittle, cracked fixtures — Sun, sprinklers, and snow beat up the fixture bodies. By the time we open them up, plastic and metal parts can be too far gone to reuse.
- Buried clamp connections — Many systems use pierce-style connectors that bite into the cable. Underground, those can corrode or work loose over time, leading to intermittent or total failure.
- Damaged cable — Shovels, lawn aerators, pets, and even roots can nick or cut the low-voltage wire, causing shorts or open circuits.
Brian mentioned seeing some above-ground wire damage, and that his lights would sometimes all come on, then other times only a couple worked. That kind of “on again, off again” behavior is classic loose or corroded connection territory.
When a Repair Visit Makes Sense
On the phone, Brian asked if it was even worth having us come out. The truth is, it depends on a few factors. Here’s when a repair call is usually a good bet:
- The system isn’t very old and the fixtures are still in decent physical shape.
- Only a few fixtures are out or flickering, while most still work fine.
- There’s a visible issue above ground (chewed wire, loose connection at the transformer, damaged fixture) that might be a quick fix.
- You want a professional assessment before you invest time or money in a bigger project.
In those cases, we can often locate a bad connection, repair or replace a couple of fixtures or sockets, and get you several more years out of your existing system.
We’re always honest about the range, though. Just like we told Brian, it might be a 10-minute fix, or it could turn into a multi-hour hunt for buried problems.
When Full Replacement Is the Smarter Move
There’s a point where chasing problems in an old system becomes throwing good money after bad. Here’s when we usually recommend starting fresh:
- Most fixtures are failing or physically rotted.
- Every time you fix one problem, another light dies a few weeks later.
- The wiring is a mystery (unknown age, multiple splices, no clear layout).
- You’d like to update the look or layout of your lighting anyway.
That’s why, during our call, we told Brian something many electricians might not say out loud: if this were our own house, we’d probably dig up the line and replace the whole run with new cable and new fixtures.
With modern, off-the-shelf low-voltage kits from home centers, homeowners can often replace an entire pathway run for less than the cost of a lengthy troubleshooting visit.
DIY vs Calling an Electrician for Low-Voltage Lights
Another thing that made Brian nervous was doing the work himself. He wasn’t worried about getting shocked so much as wasting time or doing it wrong.
Here’s how we usually break it down:
DIY-Friendly Tasks
- Replacing individual fixtures using the existing connectors
- Swapping bulbs or LED modules
- Inspecting and tightening visible connections at the transformer
- Replacing an entire run with a new low-voltage kit, if you’re comfortable digging and following instructions
Better Left to a Pro
- Systems tied into line-voltage (120V) circuits
- Extensive buried wiring issues with no clear layout
- Mixing old and new components where load calculations matter
- Any situation where you’re simply not comfortable with electrical work
With low-voltage (12V) systems, the shock hazard is low, but it’s still possible to damage equipment or create constant maintenance headaches if connections aren’t done correctly.
Practical Steps Before You Decide
If your path lights are acting up, here are a few simple checks you can do before calling anyone:
- Look at the transformer: Is it getting power? Is the timer or photocell working?
- Inspect above-ground cable: Any obvious nicks, chew marks, or pulled-apart connectors?
- Check a bulb: Swap in a known-good bulb or LED and see if anything changes.
- Note the pattern: Are all lights out, or just some? Do they ever all work, like Brian’s did?
Then, snap a few clear photos of your fixtures, transformer, and any visible wiring issues. When homeowners send us pictures ahead of time, we can usually give a much better idea of whether a repair visit is likely to be quick and cost-effective, or whether replacement might actually save money in the long run.
Whether you decide to troubleshoot, replace a few fixtures, or start fresh with a whole new system, a little upfront assessment goes a long way. And if you’d like an honest opinion before you dig up a single wire, we’re always happy to take a look and talk through your options.